After last posts success of finally getting Arduino to connect to a network, things suddenly started to malfunction again.
Nothing works. Again. And I have no clue why. And I am tired of things just breaking, and not being able to figure out why.
It might be that I am just totally incompetent with Arduino, or that my hardware is just broken. Either way, nothing works.
Arduino is out
So I decided that I wanted something I could more easily debug and understand - a proper computer with less complicated hardware fiddeling to worry about.
Enters Raspberry Pi.
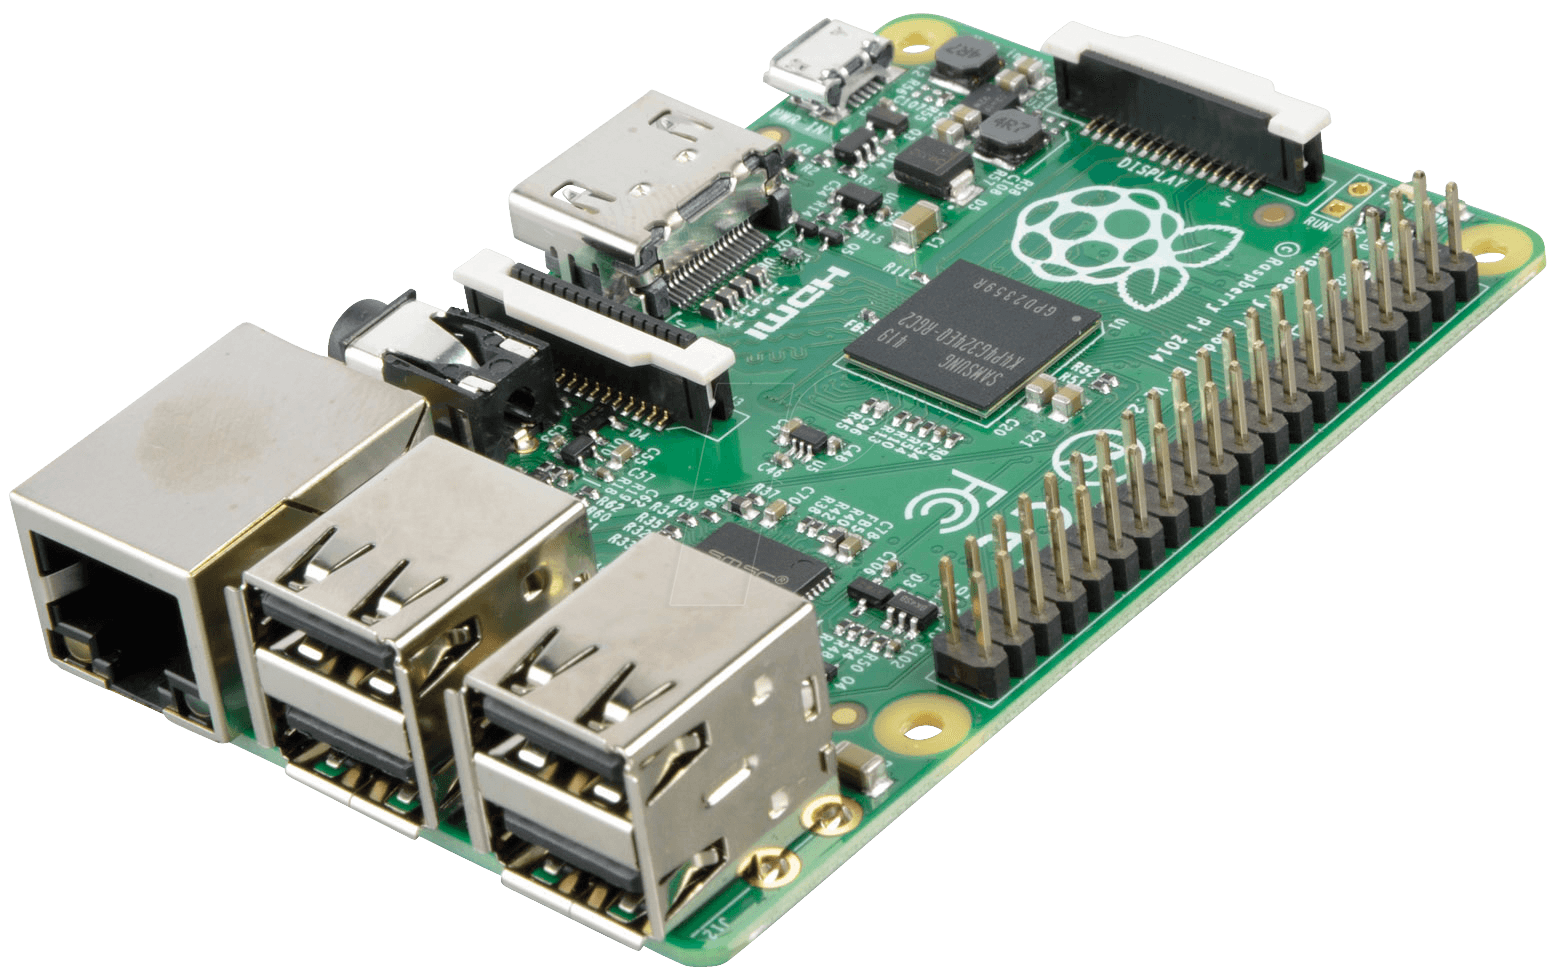
The greatest thing about Raspberry Pi, from my point of view, is that it runs Linux and is MADE to connect to networks.
Also, I can understand Linux; I use it every day at work and home.
It got Ethernet built in! And getting WiFi is as easy as plugging in a WiFi USB dongle.
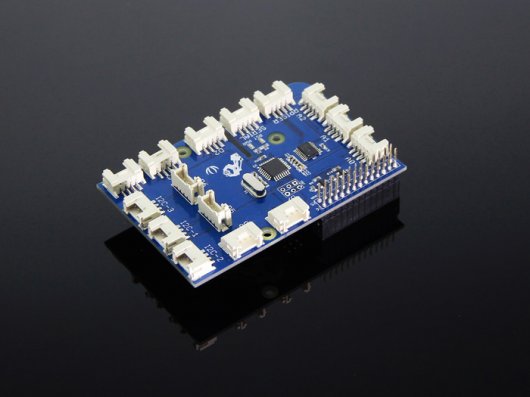
I will of course still need to plug in sensors and whatnot, and for that, I found a solution that looks really nice: Grove System.
Grove purchase
Grove is a modular system with ready-to-use sensors and things you can just plug into your system.
All you need is a connector/interface for your system, which you plug all your Grove sensors into.
They have connectors for Arduino (which I didn’t buy), Raspberry Pi (which I did buy), Beagle Board and many others.
They have all kinds of sensors you can connect and work with, and it looks like there is very little stupid tinkering of hardware that needs to be done - which fits me right now.
To get started, I ordered:
I plan to buy many others, if this pans out.
GrovePi+ The Grove connector to Raspberry Pi:
They have not yet arrived, but I will write about my experience with Grove when it gets here (in 15-45 days…).
Testing Raspberry Pi with a sensor
If you don’t know what MQTT is, I suggest that you go back and read: Smart home series – Part 1 – Learning MQTT and buying stuff
I wanted to prove that getting things to work would be easier with Raspberry Pi, than it was with Arduino. Even without Grove. Just switch out the Arduino for a Raspberry Pi.
I actually got a Raspberry Pi hooked up to a DHT22 (temperature sensor) with just a couple of wires and few lines of code.
It took me a couple of hours to get everything to work (compared to weeks with Arduino - which never actually worked).
It is even sending MQTT messages to my MQTT broker.
It is an actually working component! Huzzah! I was SO happy when I saw something finally working like I wanted it to.
Hardware
The hardware used:
- Raspberry Pi Model B+ (with memory card, power, keyboard, monitor and cables)
- DHT22 sensor
- Breadboard
- 10K Resistor
- A few wires to connect everything
Most of this stuff is dirt cheap. The only thing that has a significant cost is the Raspberry, which is still pretty low-cost.
Set up
The first thing I did was to install and set up the Raspberry Pi with a simple Raspbian Jessie Lite image, downloaded from here: https://www.raspberrypi.org/downloads/raspbian/
You don’t have to use the Lite image if you want a Desktop with GUI and stuff, but I didn’t really feel like I needed it for this.
Connections
To hook up the DHT22 to my Raspberry Pi, I just followed the simple wiring explained in this video:
I am not going to get into the wiring and whatnot, because it is not something I understand completely. It is not a solution I am going to keep either, because I want simpler connections than this (using Grove).
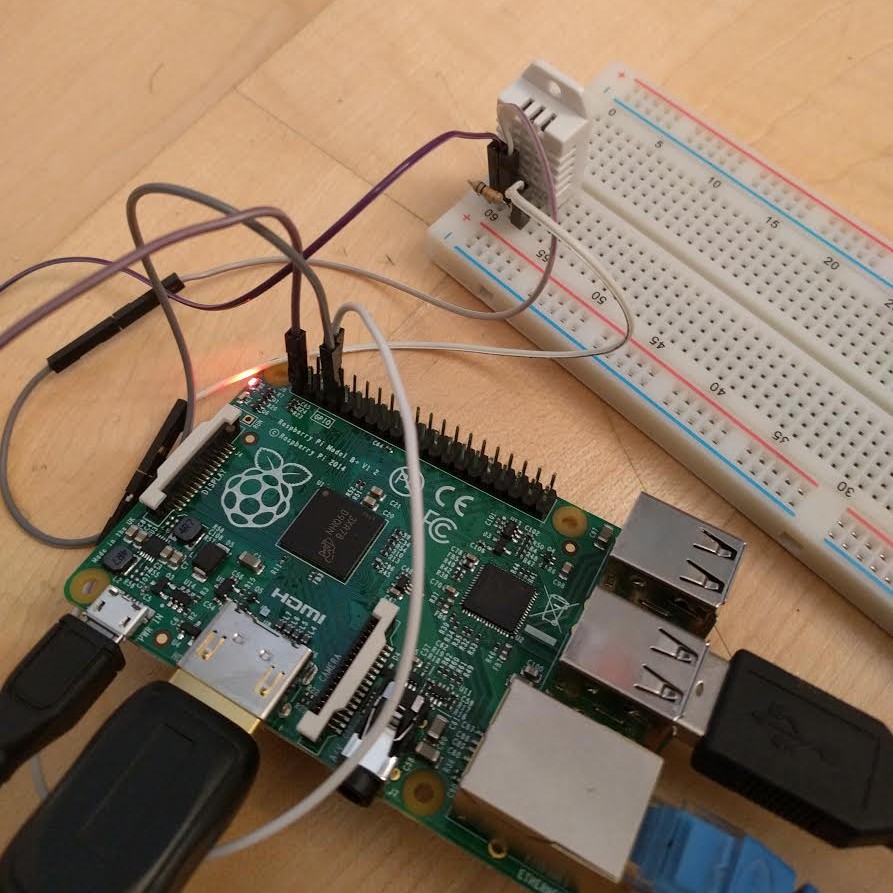
Not very pretty, but does the work for a prototype.
The Code
Now we are getting somewhere comfortable!
I wrote a python script to send an MQTT message every 30 second with the current temperature read-out.
I am using two libraries to do this:
- Adafruit DHT (mentioned in the Youtube video): https://github.com/adafruit/Adafruit_Python_DHT
- Paho MQTT: https://pypi.python.org/pypi/paho-mqtt/1.1
Adafruit DHT is used to communicate with the DHT22 (temperature sensor) and Paho MQTT is used to publish MQTT messages.
The logic is very simple:
In an infinite loop I do the following:
- Read the temperature (and humidity actually, but I am currently not using it)
- Publish the temperature to “office/temperature” (which is the MQTT subject I decided would be appropriate)
- Sleep for 30 seconds
And so it goes, forever.
#!/usr/bin/env python

import Adafruit_DHT as dht
import paho.mqtt.publish as publish
import time

def readTemperature():
    while True:
        h, t = dht.read_retry(dht.DHT22, 4) #4 is the GPIO number I am connected to on the Raspberry Pi
        publish.single("office/temperature", '{0:0.1f}'.format(t), hostname="192.168.10.200")
        time.sleep(30)

readTemperature()
I have to admit, I don’t have much experience with Python yet, so the above code might be very inefficient and ugly - but it works!
The only issue I have, is that I have to start the script as root. It’s because the Adafruit library requires root access to read out from the pins on the Raspberry Pi. I am not focusing on that, but I don’t want that in the future, if I can avoid it.
So to run the script I just write the following in the terminal:
sudo python temperature.py
Does everything work?
I have a MQTT client on my computer called MQTTfx, which I use to test the other clients and the broker. I just subscribe to “office/temperature” from my broker, and I can see the temperature getting published every 30 seconds.

Nice! Things that work, feels great after struggeling for such a long time with Arduino. This was much more fun!
Next
While waiting for the Grove components to get here, I am probably going to play around with the hardware I got, and learn a little bit more Python.
I might also get started on an application to pick up MQTT messages and do something useful with them. Perhaps store them away in some database. And possibly show them on a monitor - which might require a web interface of some kind.
I don’t really know how things will look later, but that is half the fun.
Just learning about the possibilities and experimenting/playing with them was one of the reasons I started this project in the first place.
 Follow me on Twitter: @gjermundbjaanes