I recently started working on a brand new web app. It has been a blast, but I wanted to be able to show the app off and test it, even when I am not in front of my development environment. Also, I really wanted all my tests to run every time I pushed to GitHub.
These things exists and are called Continuous Deployment (CD) and Continuous Integration (CI).
Update: I Added how to set up the CI to run e2e tests with protractor.
Continuous Integration with Travis
For doing CI, I found a very popular service called Travis CI. It’s 10,000% free (according to their web site) for Open Source projects. It was super easy to set up. All I needed (almost) to do was to set up an account and connect to my Github Account.
The second thing I had to do for travis to work, was to set up a .travis.yml file. I have a pretty standard project so far, so I didn’t have to do much work to get set up there.
language: node_js
node_js:
  - "0.10"

before_script:
  - export DISPLAY=:99.0
  - sh -e /etc/init.d/xvfb start
  - webdriver-manager update
  - npm install
  - npm install -g bower
  - bower install
  - gulp > /dev/null & # start server
  - sleep 10 # give server time to start


script:
  - node_modules/.bin/karma start karma.conf.js --no-auto-watch --single-run
  - node_modules/.bin/protractor protractor.conf.js --browser=firefox
All it really does is set up what it needs to be able to run the tests with karma on Travis. It has a setup set called “before_script” where any installation and other preparation needs to happen. The “script” step is where you run your tests. I will soon add a new line for starting my protractor test suite.
It does some setup so that I can run Firefox (for tests), but the thing I had to add to make it work for me was the bower setup (“- npm install -g bower” and “- bower install”).
Protractor
I have set up Travis to run protractor as well. The most important parts of the script for this is the “gulp > /dev/null &” which builds the project and start a local web server (it might be done a different way for you).
In my case the default gulp task starts a web server locally at port 8080. I then have a param in my protractor.conf.js file like this:
exports.config = {
    params: {
        client: 'http://localhost:8080/'
    },
    ...
};
That way, the tests can do the following and still understand which web server to pick:
browser.get(browser.params.client);
Finally, the tests are run using the:
- node_modules/.bin/protractor protractor.conf.js --browser=firefox
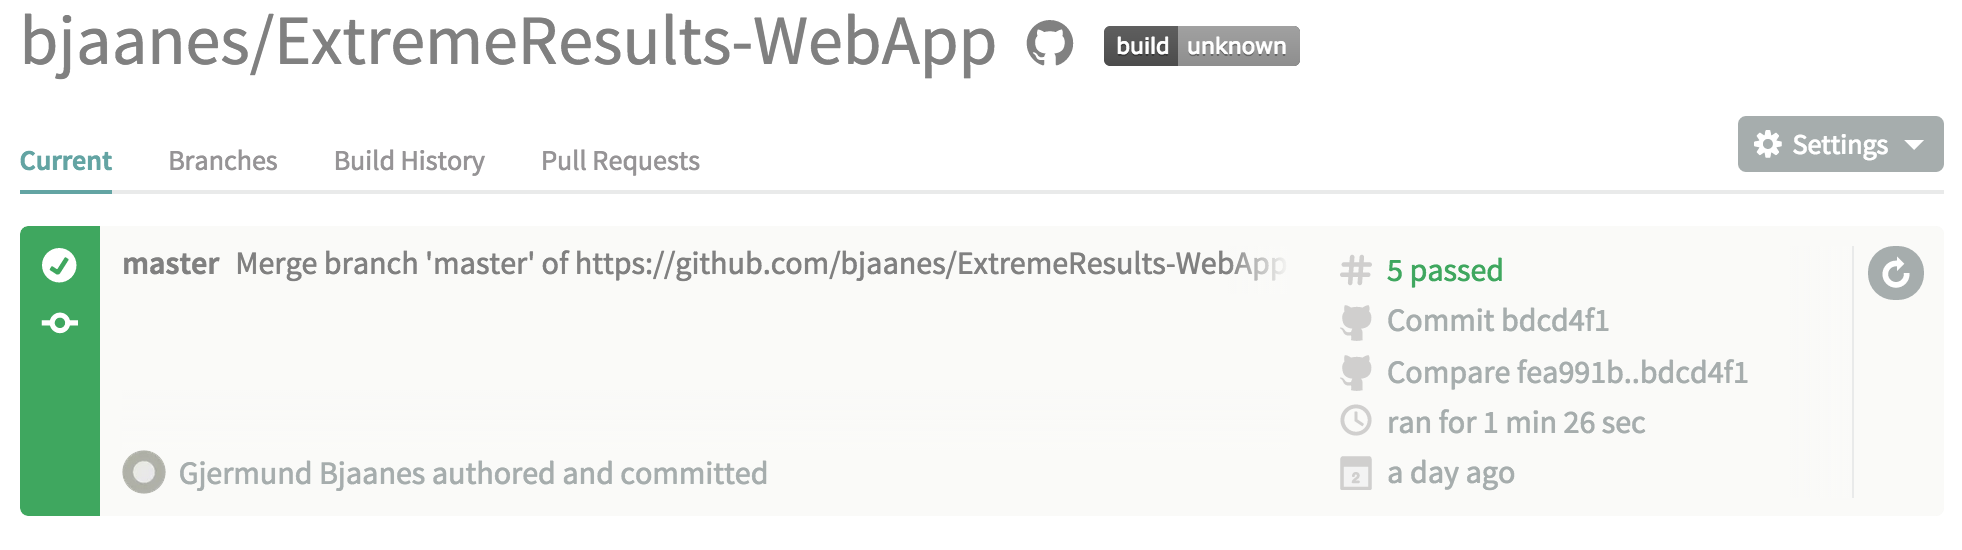
Screenshot from Travis website
Feel free to use my travis script, it was taken from the angular seed project:
https://github.com/angular/angular-seed
Continuous Deployment with dploy
I wanted my code to be pushed to a DigitalOcean droplet. The reason for that is because DigitalOcean is what I use to do these sort of things. It’s also very cheap and easy to set up some droplets/vps for basically anything.
I started out by creating my account and connecting to GitHub and DigitalOcean.
After I had set up the dploy account I created a Droplet with the dploy and then created the deployment repository on my new dploy site.
On my droplet I installed node, npm, bower globally and gulp globally. I also installed a light weight web server called lighttpd. Not much setup needed. I just had to set up the environment on dploy to target /var/www on my droplet.
Finally, I had to set up a couple of Pre-launch commands to actually build the app.
npm install
bower install --allow-root --config.interactive=false
gulp build
Not much interesting. Installing npm dependencies, bower dependencies and then starting my gulp build script. Super easy!

Screenshot from dploy web site
The entire process took me no more than a couple of hours of fiddling, but it really feels good to have some automation set up. It will probably save me a lot of time later!
NOTE!
Dploy is now called DeployBot.
Since I wrote this article, the Digital Ocean API v.1 has been deprecated. The guide should still be valid in most of it’s form.
 Follow me on Twitter: @gjermundbjaanes